Blog /
Best Food Photography: A How-To Guide
Food Photography Simplified!
Food photography is quite an in-depth niche. Whether you are a food blogger looking to improve your photo content or you are a restaurant owner in need of some new menu pictures, there are so many tips to learn to get the best results in your food photography efforts. To attract your audience through social media, especially, your food must not only look appetizing, but you should execute the photography carefully and wisely. From having the perfect lighting to getting the best angle, this guide will teach you the ins and outs of successful food photography. After all, using food photographs in your advertising will help bring people to your restaurant or page. Here are a few tips to get you started:
Consider Lighting 💡 🕯 ☀️
Firstly, you must assess your lighting situation. When it comes to choosing lighting for your food pictures, there is no one correct choice. Natural and soft lighting can both come in handy, but soft is the popular choice for food pictures. Soft light consists of a soft shadow. It is a complimentary light for food and helps to enhance texture and details. To create the best soft light for your photographs, you should use something that will reflect the light with you. Boards, sheets, and curtains are some examples. Place the food item between the light and the reflector object. Soft light works for any mood.
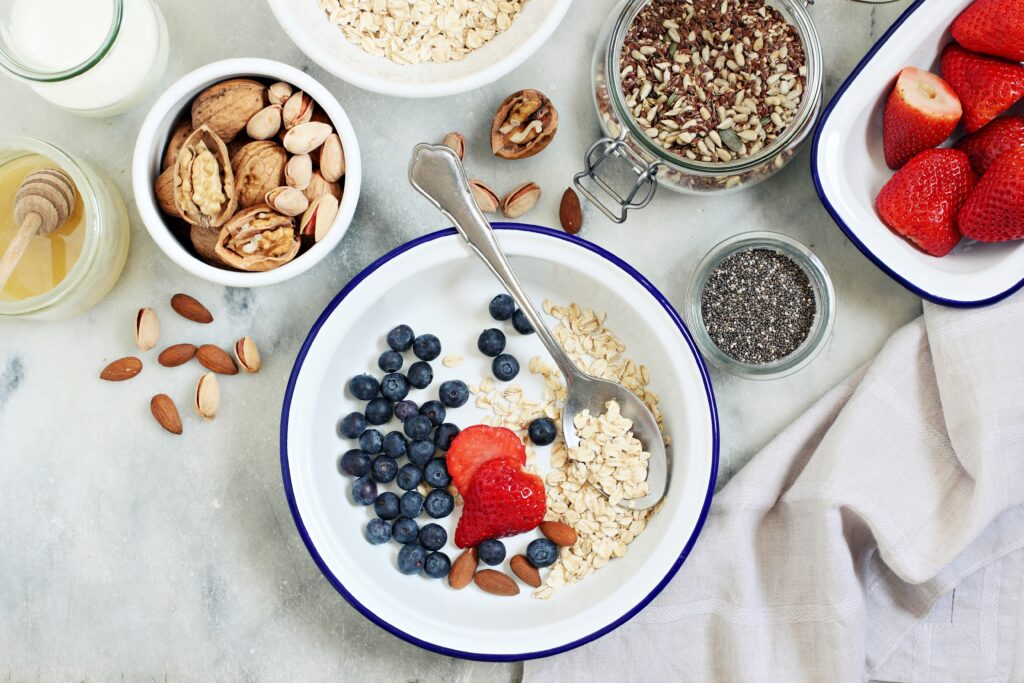
Natural light is also common when photographing outside and at restaurants. This lighting will ensure that the food, dishes, and background appear accurate in color.
Ensure Clarity 💎 💎 💎
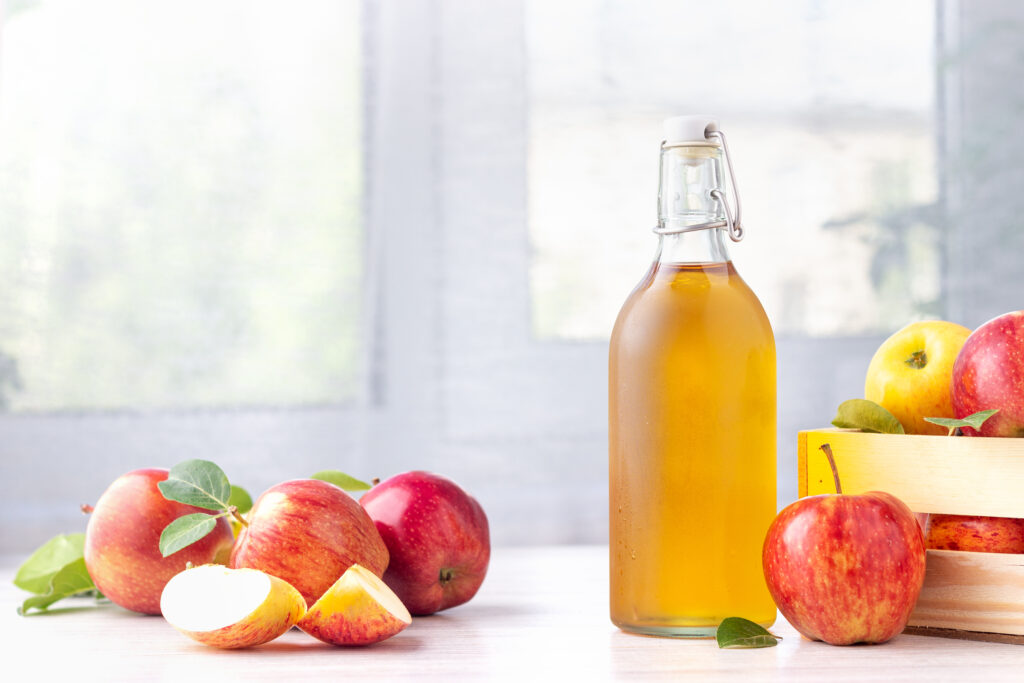
Equally important, is clarity. Even with all the edits and filters out there, fixing a blurry photo is nearly impossible. Make sure to check your camera’s focused before releasing the shutter. If you are taking pictures on a phone, tap on the food object that you want to capture before taking the photo. This will help to make sure that the object is as sharp and clear as possible. The clearer the food looks, the more appealing it will be to your audience so keep that in mind during your next photoshoot.
Utilize Color 🔺 🔶 🟡 🟩 🔹 💜
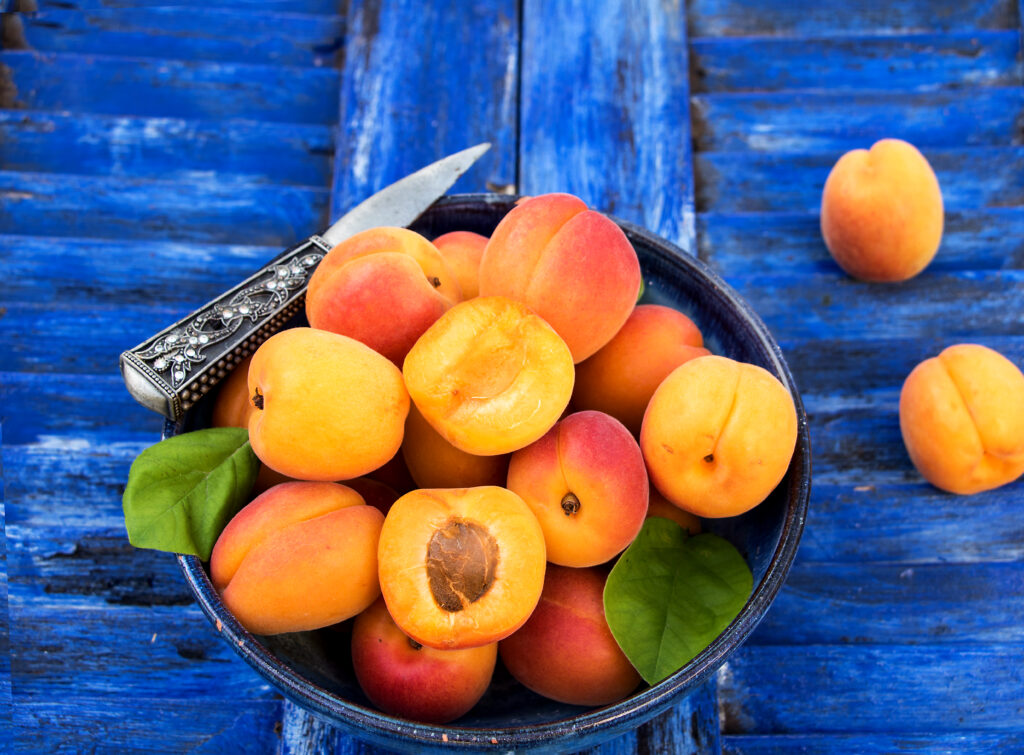
Color plays a big role in the composition of your photos and can influence the feel of the image as well. Using similar color choices like green and yellow create feelings of comfort. Contrasting colors like green and red create a more exciting and vibrant image. You can use similarity or color contrast when setting up the food itself, utensils, dishes, and background displays. Elevate an image of a bowl with yellow pasta by placing a red napkin next to it. Topping a few pieces of colorful fruit onto pieces of bread can really make the photo appear much more appealing.
Set Up The Perfect Background 🌫 🌌 🌅
Certainly, the food is the star of the shoot, but don’t forget the background. When having a food photoshoot, the background is just as important as the food is. Having unnecessary cluttered objects in the background can draw the viewer’s attention away from the food. Remove any extra dishes, rags, or food pieces in the background. Using a neutral background will help your viewers concentrate on the actual food better. To boost the appearance of food, experiment with dark and light backgrounds. Dark food tends to look better with dark backgrounds and lighter food tends to look better with lighter backgrounds. Wood, tablecloths, tiles, and trays are some other background images that food looks good on. Backgrounds do not have to be completely plain, but they should still compliment the food instead of taking away from it.
Try Multiple Angles 👇 👉 👆
Different types of dishes and foods look better at different angles. Play around with a variety of angles to see which make your images look best. For instance, foods that are flatter like a tray of quesadillas might look better with a shot from above. However, it would be best to shoot from in front of a tray of cupcakes so you can see the entire shape and size. Shooting from the front helps to capture the details and layers of objects like bread, cakes, or a smoothie. To capture the top layers of food and emphasizes the shape of the dish, try shooting from above.
Decorate The Set 🥄 🥣 🍃
Depending on the visual story you are going for, you may want to include additional props or decorations to the scene. This will make the photos seem more interesting and visually appealing. Adding some of the ingredients to the set can help your audience visualize the recipe. Scooping spices up with a spoon or pouring some herbs, berries, or nuts onto the frame can make a great addition. Non-food decorations like utensils, napkins, flowers, or books can also heighten the image. These help to create a story behind your image and create a certain mood.
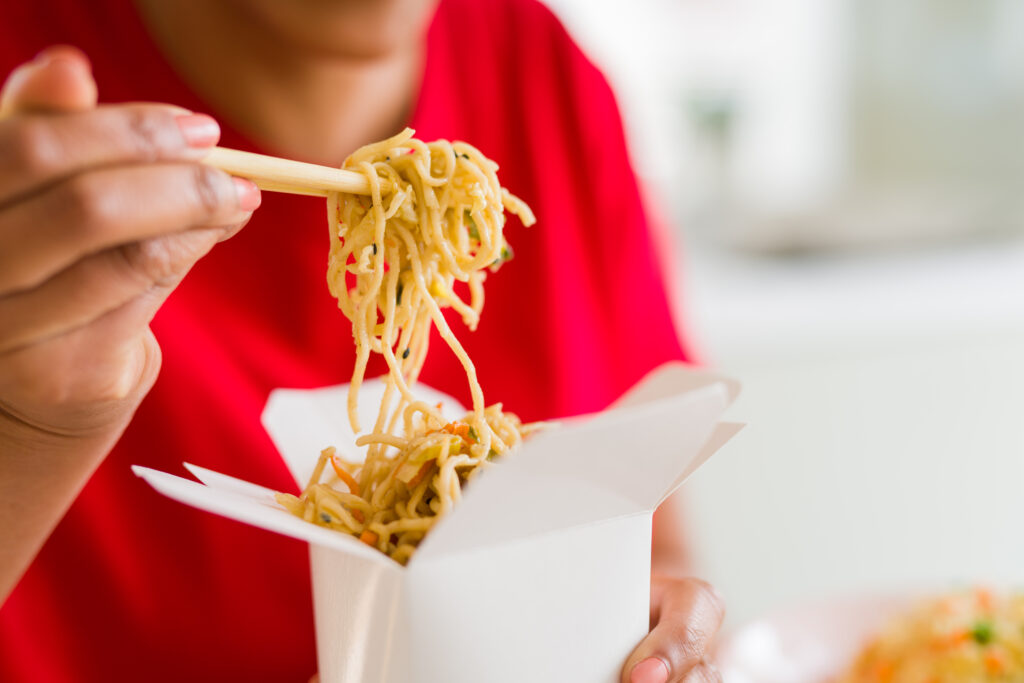
Incorporate Human Actions 🍜 🍝
By incorporating actions, it will make your photo come more alive and can help to tell a story. Having a fork twirl within the pasta or showing a hand holding chopsticks with sushi can be very appealing to an audience. Pouring cream into coffee or placing an ice cream cone within someone’s hand can also look nice. If you are going to use a hand, make sure it is clean and moisturized. Only incorporate actions if they add to the photo. Do not force actions if they are out of context.
Present Food Neatly 🍡 🥧 🍱
The positioning and arrangement of the food you are capturing should be carefully thought out. Food should be arranged uniquely and in an organized manner, which creates balance and visual interest. Slices of vegetables or fruit should be cut in similar sizes and evenly distributed. Make sure that plates and trays are clean of spillages. There should not be any messes or unintentional food specks in the image.
Edit Smartly 🤓 🧐 🤫
Finally, at the step when we do finishing touches. Using filters and other editing tools can truly improve the appearance of your photos. Brightness, color, and exposure can all be adjusted with some simple web tools. Certain filters can enhance the excitement and vibrancy while others can make the colors more muted and softer. There are numerous applications and software products that help you edit as little or much as you need. Just make sure that you do not overdo your editing.
In summary, photography food can be fun, it is not always simple. There are many elements involved when executing great food photography. Whether you use a professional-grade camera or a phone, with the information shared in this guide, you have the potential to capture some delicious meals!


